How to Watch Netflix on Projector From iPhone
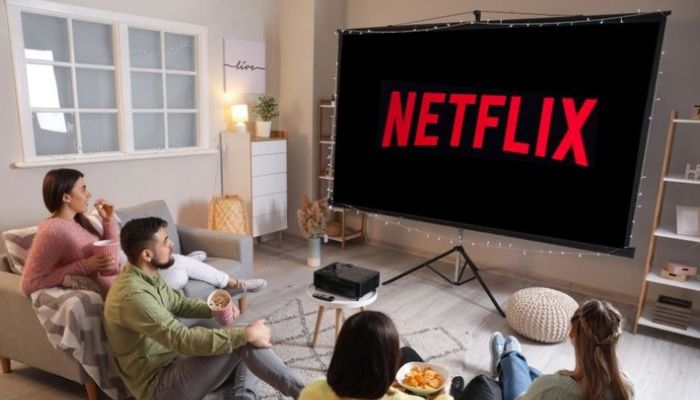
You will learn how to watch Netflix on a projector from your iPhone in this article, exploring methods like connecting through an HDMI adapter, using Chromecast or Roku, and casting Netflix to a projector via AirPlay. Read on to find the one for you.
1. Use an HDMI Adapter to Connect iPhone to a Projector
To connect your iPhone to your projector, the common method is to use an HDMI cable. However, the HDMI port is not available on iPhone, so an HDMI adapter is needed if you want to connect your iPhone to your projector.
Step 1: Purchase a Lightning-to-HDMI or USB-C to HDMI adapter based on your iPhone's charging port.
Step 2: Insert one end of the HDMI cable into the adapter.
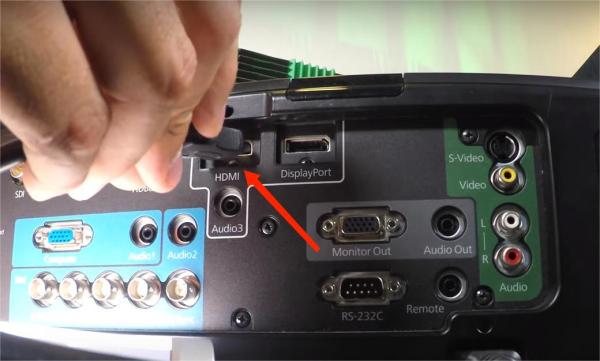
Step 3: Insert the other end into the HDMI input on the projector.
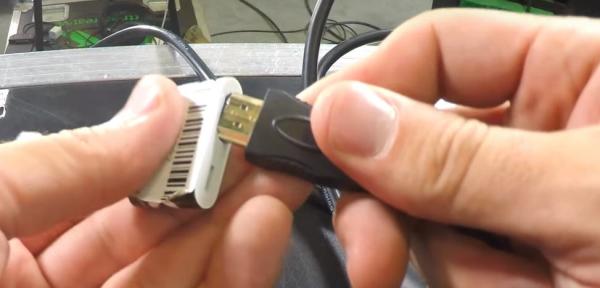
Step 4: Connect the Lightning or USB-C end of the adapter to your iPhone.
Step 5: The projector should automatically detect the HDMI connection. If not, utilize the projector's input/source settings to choose the HDMI input.
Step 6: Your iPhone's screen will now be mirrored onto the projector, allowing you to enjoy Netflix content on a larger display.
Step 7: Open Netflix on your iPhone, and choose the Netflix movies or series.
Step 8: Play the selected content on your iPhone, and click the Cast icon.
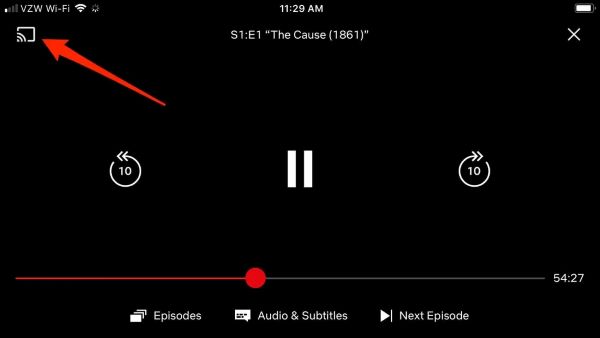
Step 9: Choose your projector from the list of supported devices, and you can start watching Netflix on the projector.
2. Play Netflix on Projector From iPhone With Chromecast
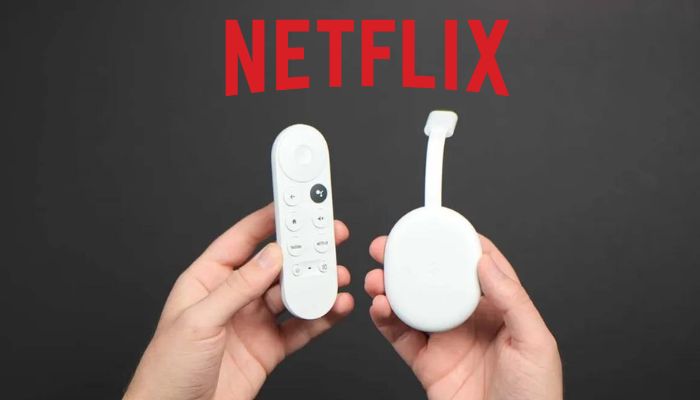
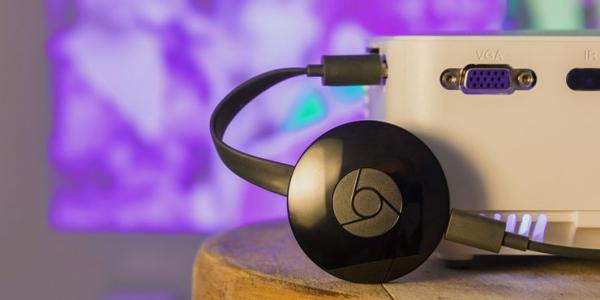
It's convenient to watch Netflix on your projector if you have a Chromecast. Just connect your Chromecast to the available HDMI port on your projector, and follow the steps below.
Step 1: Insert your Google Chromecast into the projector's HDMI port, and charge it with a micro USB cable if needed.
Step 2: Download and launch Google Home from the App Store.
Step 3: Ensure that your Chromecast is connected to the same Wi-Fi network as your iPhone and projector.
Step 4: Launch the Chromecast app and click the "Devices" button situated in the top-right corner of the screen.
Step 5: From the list of devices, choose your Chromecast. On the following screen, tap the "Settings" cog located in the top-right corner.
Step 6: Navigate through the Settings menu and scroll down until you find the "Projector" option. Tap on it.
Step 7: Ensure that the "Enable Projector" switch is activated on the Projector settings screen.
Step 8: Access the Netflix application on your iPhone.
Step 9: Once logged in, select the Cast icon located at the top or lower right corner of the screen.
3. Play Netflix on Projector From iPhone With Roku
An alternative method to cast Netflix content from your iPhone onto a projector is using Roku. If you have a Roku streaming device, please read on.
Step 1: Ensure that your iPhone, Roku, and projector are all connected to the same WiFi network.
Step 2: Connect your Roku device and the projector using an HDMI cable. select the HDMI input on your projector.
Step 3: Select the HDMI input on your projector, noting that some projectors may automatically detect it.
Step 4: Once the setup is complete, open the Netflix app on your iPhone and sign in to your account.
Step 5: Choose a movie or TV show you want to watch. On the top-right of the screen, tap on the "Cast" option.
Step 6: Select your Roku device from the list of available devices for screen casting.
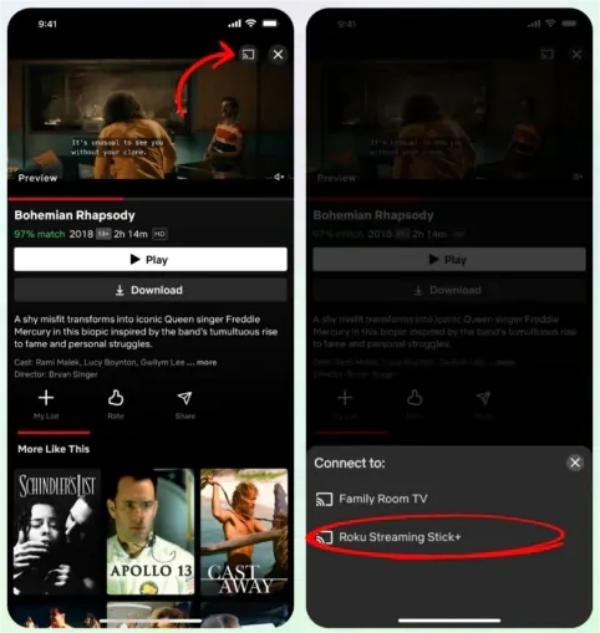
Step 7: Now you can start playing Netflix content on your iPhone. You can also pause or end the casting on your phone.
4: Cast Netflix to Projector From iPhone Using AirPlay - Recommended!
The earlier methods are applicable to users who already have an HDMI Adapter, Chromecast, or Roku. If you prefer not to use or purchase these additional devices, you can refer to the following method to Airplay Netflix to your projector. However, the Airplay feature is not available in the Netflix app due to technical constraints, so if you are an Apple user seeking to mirror Netflix from your iPhone to a projector, an alternative method will be necessary.
FlixiCam is a useful tool to bypass technical constraints and convert Netflix movies and shows to MP4 format. After downloading videos on your computer with FlixiCam, you can transfer the downloads to your iPhone, and then cast Netflix to your projector.
Step 1. Run FlixiCam and Log into Netflix Account
Open the installed program on your Windows or Mac PC, and sign in.

Step 2. Change Format, Path, Language
Navigate to the settings window to access the Settings menu, and choose the general output parameters.

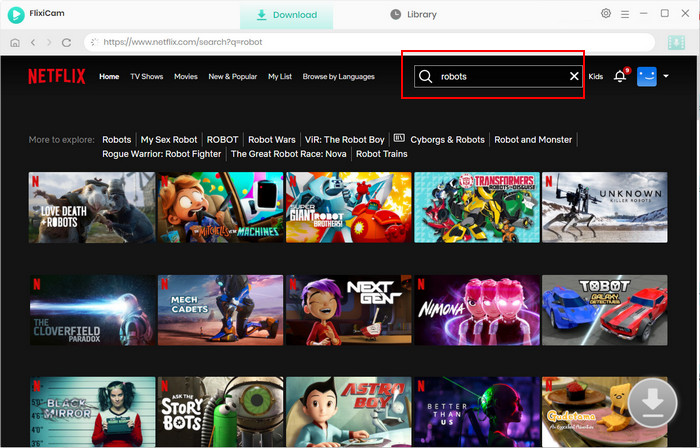
Step 3. Search for Movies on the Built-in Player
Enter the video name in the search box and choose the video you want to save.
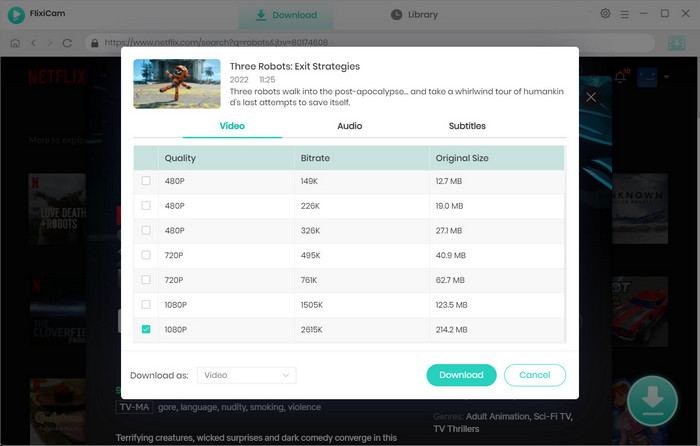
Step 4. Choose Video Quality, Size, Season and More
Click on the green download icon located at the bottom-right corner. You can now customize additional output settings, such as video quality, file size, subtitles, and more.
Step 5. Download Netflix to MP4
Simply press the download button to save your preferred movies or shows to your PC or Mac. Then you will get MP4 files on your local drive.
Step 6. Transfer Videos to iPhone
Download Syncios on your computer, then use a USB cable to connect your iPhone to the Windows PC.
To transfer videos wirelessly, you can also use the VLC App. To share videos between your device and computer, just make sure they are connected to the same network.
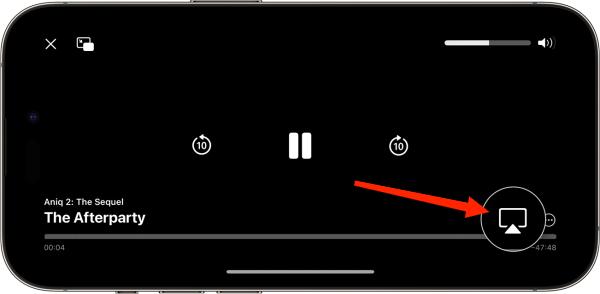
Step 7. Mirror the screen of your iPhone via AirPlay
Ensure your device is connected to the same Wi-Fi network as your projector. Locate the video you wish to stream, tap the AirPlay button, and choose your projector from the list.
Final Words:
If you already have streaming services such as Chromecast or Roku, or HDMI adapter, then you can watch Netflix on a projector effortlessly. Fret not if you don’t have any of them. Simply use FlixiCam, and then use Airplay to cast videos to your projector.
 Download Win
 Download Mac